How to Dry and Store Herbs: UK Guide
- Air drying is free and works brilliantly for rosemary, thyme, oregano and sage
- Pick herbs late in the morning after the dew has dried, before the sun gets hot
- A hanging herb drying rack keeps air moving around every stem and stops mould
- A food dehydrator at 35-40°C dries a whole crop in hours instead of weeks
- Store dried herbs whole in airtight clip-top jars away from light, and crumble them just before cooking
Suggested reading: Our complete guide to growing herbs in the UK · growing herbs in pots for small spaces
There comes a point every August when the herb bed threatens to take over the kitchen. The rosemary has become a small tree, the mint is planning an escape through the lawn, and you have made pesto three times this week. This is exactly the moment drying earns its keep. Done properly, one afternoon's work gives you six months of herbs that beat anything in a supermarket jar.
The good news is that drying herbs at home is genuinely simple. You do not need special equipment to start, the whole process takes minutes of actual effort, and the results are hard to get wrong if you follow a few basic rules. The difference between herbs that taste of summer and herbs that taste of dust comes down to three things: picking at the right time, drying at the right temperature, and storing them properly afterwards.
This guide covers every method that works in a UK home, from free air drying to a dedicated dehydrator, plus the storage mistakes that quietly ruin a whole harvest. Let's get your herbs dried properly.
Why Drying Your Own Herbs Beats Supermarket Jars
Walk down the herbs aisle and you will see the problem: those little glass jars have usually sat on a shelf for months, and most of them are pre-crushed. The moment a herb is crushed, its essential oils start escaping into the air. By the time that jar reaches your kitchen, you are mostly paying for the smell you have already lost.
Home-dried herbs keep far more of their character because you control the whole process. You pick at peak flavour, dry them gently, and store the leaves whole until the moment they hit the pan. Anyone who has compared home-dried oregano with the supermarket version will tell you the difference is night and day.
There is a cost angle too. A single rosemary bush produces more than you could reasonably buy in a year, and a packet of seeds costs less than one jar of dried herbs. If you already grow herbs, you are leaving free flavour on the plant every week you do not preserve some of it.
When to Pick Herbs for Drying
Timing changes everything. The essential oils that give herbs their flavour are at their strongest just before the plant flowers, and at their most concentrated in the morning after the dew has dried. That narrow window, roughly mid-morning on a dry sunny day, is when you want to cut.
- Pick before flowering. Once a herb sends up flower spikes, energy goes into the blooms and the leaves lose intensity. For most culinary herbs, early to mid summer is peak, but a second flush after cutting back is common in August.
- Cut healthy, pest-free stems. One dusty or spotted branch can taint a whole bundle. If you see aphids or mildew, leave those stems for the compost heap.
- Use clean secateurs or scissors. A clean cut heals faster and keeps the plant producing. Snip just above a leaf node so the plant regrows neatly.
- Dry weather matters. Herbs picked after rain carry extra moisture, which means a longer dry and a higher mould risk. Wait for a couple of dry days if you can.
For most UK gardens, the biggest harvest window runs from late June through September, and you can dry in waves. Dry what you can use, leave the rest growing, and pick again in a few weeks.
The Best Herbs for Drying (and the Ones to Skip)
Not every herb dries well. The ones with tough, woody stems and dense leaves are perfect for drying, while soft leafy herbs are usually better frozen. Getting this right saves you a lot of disappointment.
Herbs That Dry Beautifully
- Rosemary: practically dries itself. Hang the sprigs and it keeps its piney punch for a year or more.
- Thyme: tiny leaves dry fast and hold their flavour brilliantly. Strip the leaves after drying or crumble whole sprigs into stews.
- Oregano and marjoram: the classic pizza and pasta herbs. They dry even better than they taste fresh.
- Sage: furry leaves dry to a crisp that crumbles easily. Great in stuffing and with pork.
- Mint and lemon balm: dry well for tea. Pick before flowering for the sweetest leaves.
Herbs Better Frozen
- Basil: turns black and loses its perfume when dried. Freeze it as pesto or chopped in ice cubes.
- Chives: dry to flavourless straw. Chop and freeze instead.
- Parsley and coriander: both lose almost everything in the drying process. Freeze chopped, or keep a pot going on a windowsill.
- Dill: the feathery leaves dry poorly, though the seeds are worth saving.
Method 1: Air Drying (Free and Fuss-Free)
Air drying is the oldest method and still the best for woody herbs. It needs no electricity, no special kit beyond a bit of string, and the low temperature protects the essential oils completely.
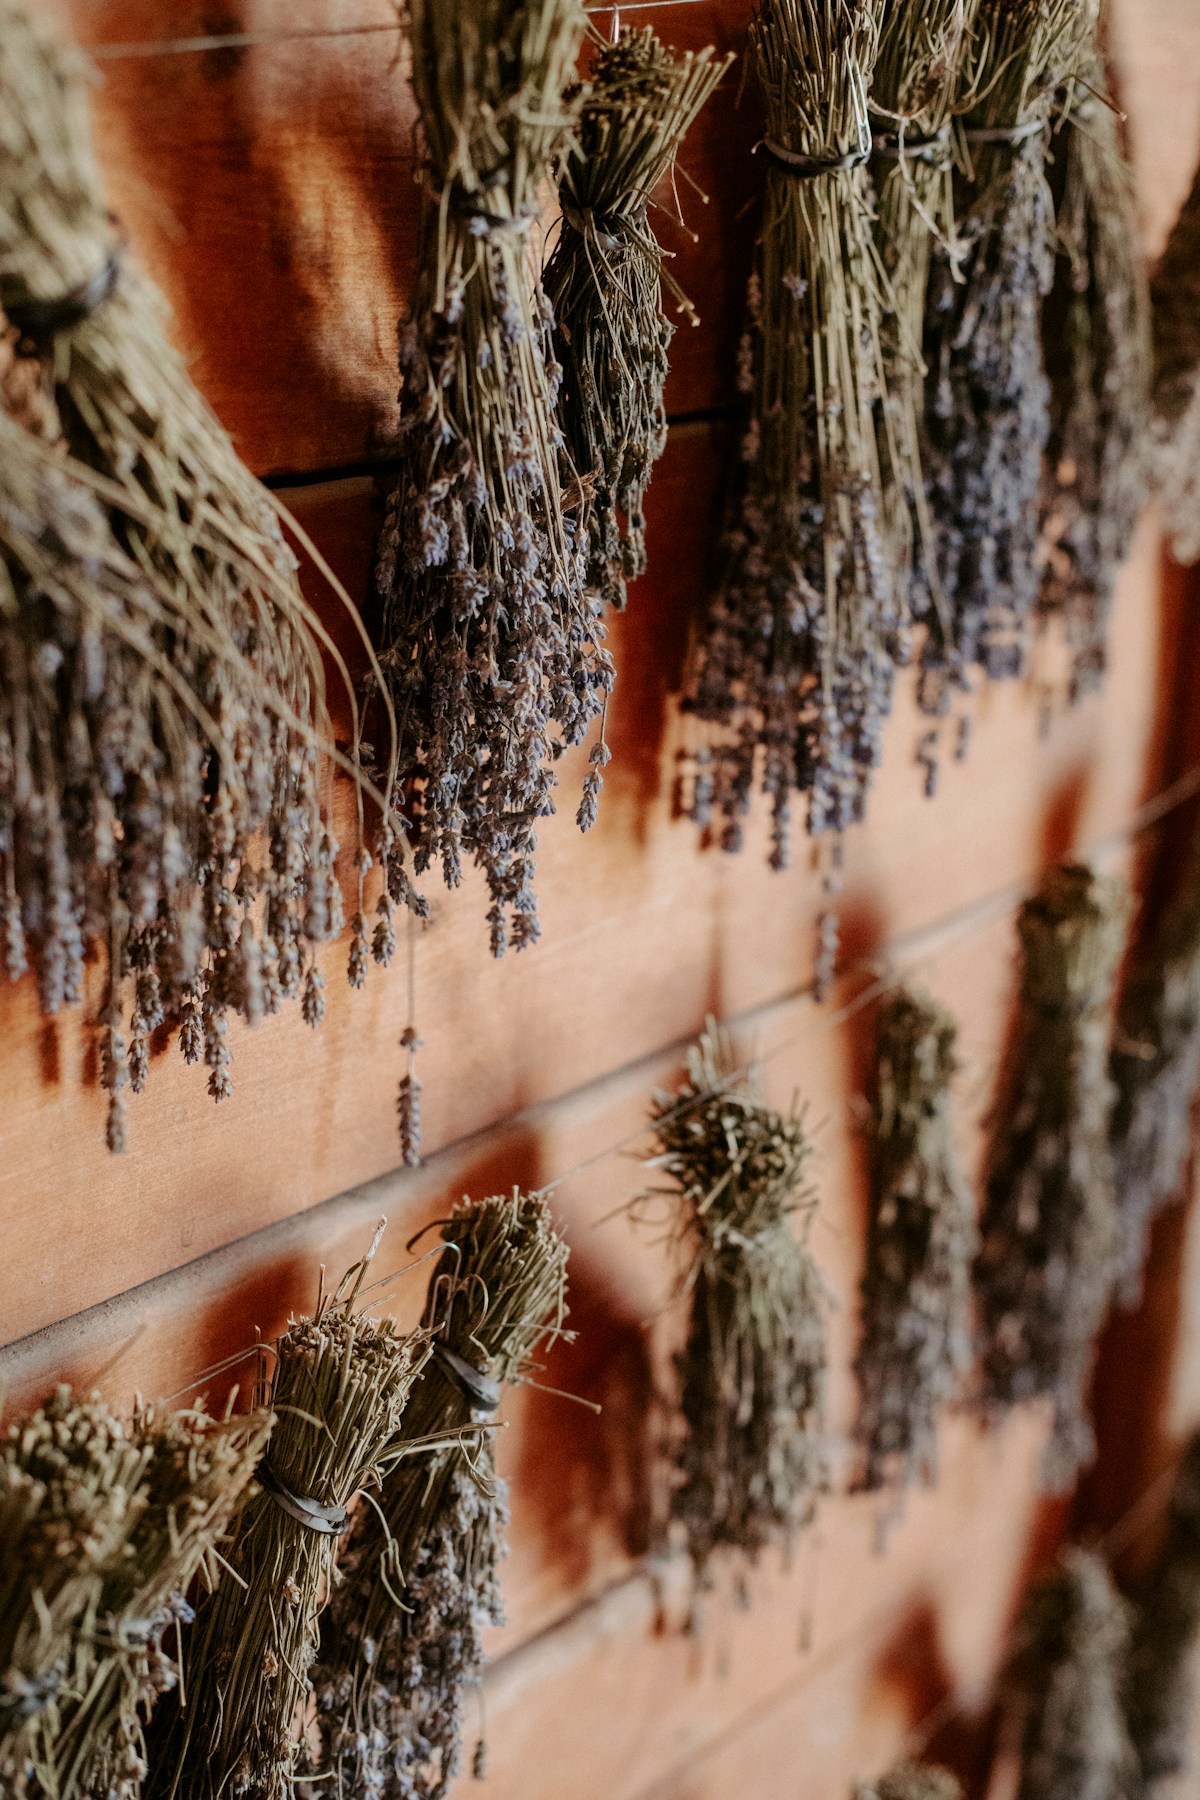
Gather four to six stems into a bundle and tie them with a piece of natural kitchen twine. The bundle should be loose enough that air can move through the stems; pack them too tight and the inner leaves will sweat and mould. Hang the bundles upside down in a warm, dry, dark place with good airflow. A spare cupboard, a boiler room shelf, or a corner of the kitchen away from the hob all work well.
Darkness matters more than people expect. Light breaks down the essential oils, so a bright windowsill is actually one of the worst places to dry herbs, even though it looks pretty. Keep them out of direct sun and they will keep their colour and scent.
Smaller batches and loose leaves are easier on a hanging rack. A collapsible Bestio herb drying rack gives you four mesh layers of drying space with zips to keep the contents in, which is handy for flowers and seeds as well as herbs. If you have a bigger harvest, the HORTIPOTS 8-layer drying net holds a huge amount in a compact hanging footprint, and the Desy & Feeci four-tier mesh dryer folds flat for storage between uses.
Most herbs take one to two weeks to air dry fully, depending on humidity. In a damp British September it can creep towards three weeks, so check the stems every few days. They are ready when the leaves crumble between your fingers and the stems snap rather than bend.
Method 2: Food Dehydrator (Fast and Consistent)
If you dry herbs regularly, or you grow enough that waiting two weeks feels wasteful, a food dehydrator is the upgrade. It circulates warm air at a steady temperature, so the drying is even and fast, usually a matter of hours rather than days.
Set the dehydrator to 35-40°C. Herbs are delicate and their oils start to evaporate above about 45°C, so the low setting is non-negotiable. Spread the leaves or sprigs in a single layer on the trays, leaving gaps for airflow, and check every hour. Thin-leaf herbs like thyme and oregano can be ready in two to three hours; rosemary and sage need four to six.
A good budget option is the 5-tray food dehydrator with adjustable temperature and timer, which handles a full herb harvest with room to spare and doubles up for jerky, fruit leather and dried apple rings. For larger gluts, the vidaXL 10-tray dehydrator gives you serious capacity, and its even heat distribution means no tray comes out half-done.
One tip from experience: rotate the trays halfway through. Dehydrators can run slightly warmer near the element, and rotating keeps every batch consistent.
Method 3: Oven Drying (The Emergency Option)
No dehydrator and no patience for air drying? The oven works, but it needs watching. Set it to its lowest temperature, ideally around 50°C, and prop the door open with a wooden spoon so moisture can escape. Spread herbs on a baking tray lined with baking paper.
Check every 15 minutes. Most herbs take one to three hours depending on the oven and the leaf thickness. The risk is that UK ovens rarely sit accurately at their lowest setting, and once the temperature climbs past 50°C you start losing flavour. Use this method for small batches you need quickly, and treat it as a fallback rather than the default.
How to Tell When Herbs Are Fully Dry
Under-dried herbs are the silent killer of a whole batch. A leaf that feels dry on the surface but still holds moisture in the middle will go mouldy in the jar within weeks, and mouldy herbs are bin food, not seasoning.
The test is simple: leaves should crumble easily between your fingers, and stems should snap cleanly with a dry crack. If a stem bends, it needs longer. When you think a batch is done, leave it out on the rack for another day anyway, especially in humid weather. The extra 24 hours costs nothing and removes all doubt.
Let everything cool completely before you jar it. Warm herbs trap condensation inside a sealed jar, and condensation is the start of mould. Cool first, then store.
Storing Dried Herbs the Right Way
Storage is where most home-dried herb efforts quietly go wrong. The enemy is a combination of light, air and moisture, and all three are easy to keep out once you know how.
- Use airtight jars. A Kilner square clip-top jar with its rubber seal keeps air out better than a screw-top, and the 1-litre size fits a full herb harvest. The round Kilner clip-top jar is a good smaller option for single herbs.
- Keep leaves whole. Whole leaves keep their oils for well over a year; crushed herbs fade within months. Crumble just before you use them.
- Store in the dark. A cupboard beats a countertop display every time. If you want them visible, use dark or opaque jars.
- Label everything. Dried rosemary and dried thyme look identical in a jar. Write the herb and the date on the lid, or you will be sniffing jars in March.
- Check after one week. Open the jars a week after filling. Any condensation or damp smell means the herbs were not dry enough, so spread them out and dry again.
If you dry a lot, the six-pack of Kilner clip-top jars is worth grabbing in one go, so each herb gets its own sealed home and the whole drying session is done in an afternoon.
Herbs That Are Better Frozen Than Dried
Drying is not the answer for every herb, and knowing which ones to freeze saves you from jars of disappointment. Soft, water-rich leaves simply do not survive the drying process with any flavour left.
Basil, chives, parsley, coriander and dill all freeze far better than they dry. The easiest method is to chop them, pack them into ice cube trays, and cover with olive oil or water. Once frozen, pop the cubes into a freezer bag. A basil cube dropped straight into a pasta sauce or a coriander cube into a curry gives you near-fresh flavour all winter, and the oil or water stops freezer burn from turning the herbs to mush.
You can also freeze woody herbs like rosemary and thyme as whole sprigs in a freezer bag. They crumble easily straight from frozen, and they keep their punch for six months or more. It is the lowest-effort preservation method on this list.
Frequently Asked Questions
Final Verdict
Drying herbs is one of those kitchen skills that pays off every single day for months. The upfront effort is small, the equipment can cost nothing at all, and the reward is a shelf of herbs that actually taste of something come January.
Start with the woody herbs you use most, rosemary, thyme and oregano, and air dry them in bundles. If you find yourself drying every few weeks, that is the signal to add a food dehydrator to the mix and cut the drying time from weeks to hours. Store everything whole in airtight jars, keep them out of the light, and crumble only what you need.
And if your basil is threatening to take over, do not dry it. Freeze it, make pesto, or give bunches to neighbours. The freezer is where soft herbs go to stay useful, and the drying rack is where the woody ones go to become pantry staples.
Happy drying! 🌿
Products Mentioned in This Guide
- Bestio 4-Layer Hanging Herb Drying Rack
- HORTIPOTS 8-Layer Herb Drying Net
- Desy & Feeci 4-Tier Mesh Hanging Dryer
- 5-Tray Food Dehydrator with Timer
- vidaXL 10-Tray Food Dehydrator
- Kilner Square Clip Top Jar 1L
- Kilner Round Clip Top Jar 1L
- 6 x Kilner Clip Top Glass Storage Jars
- Natural Kitchen Twine (2 Rolls)
All products independently selected. See our affiliate disclosure How We Review About Us.
Read our related guides: how to grow herbs in the UK · growing herbs in pots · how to start composting

Alex Green writes about vegetable growing, plant care and small-space gardening for MyLushGarden.
As an Amazon Associate we earn from qualifying purchases.
Last reviewed: August 4, 2026 · Evidence-based content · Contains affiliate links